


How to Keep Your PC Dust-Free and Running Smoothly
Share
Dust — the invisible enemy of every PC builder and gamer. It creeps into your fans, settles on your components, and slowly chokes your system’s airflow. Over time, that buildup doesn’t just make your rig look grimy; it can cause your temperatures to rise, your fans to work overtime, and your performance to drop.
Keeping your PC dust-free isn’t just about aesthetics — it’s essential maintenance that extends your system’s lifespan and ensures you get the best performance from your components. Whether you’re rocking a high-end gaming setup or a minimalist workstation, a clean PC runs quieter, cooler, and longer.
Let’s walk through how to protect your system and keep it running at peak performance.
Why Dust Is a Real Problem for PCs
Before we jump into the cleaning process, it helps to understand why dust is such a big deal.
1. It blocks airflow.
Dust can accumulate on intake vents, fan blades, and radiator fins, restricting the airflow that’s essential for cooling your system. When that happens, your CPU and GPU temperatures climb, which can throttle performance or shorten component life.
2. It makes your fans work harder.
Your fans will spin faster to compensate for poor airflow, generating more noise and consuming more power.
3. It can trap heat and moisture.
In humid environments, dust can hold small amounts of moisture, increasing the risk of corrosion or short circuits — especially on exposed metal parts.
4. It just looks bad.
A clean build is a beautiful build. Whether you’re showing off your case’s RGB lighting or a custom water loop, dust dulls the shine of your hard work.
How Often Should You Clean Your PC?
There’s no one-size-fits-all rule, but here’s a general guideline:
● Clean, air-conditioned room — Every 4–6 months
● Moderate dust environment — Every 2–3 months
● Pet owners or smokers — Monthly
● Open-air setups or near windows — Monthly or more often
If you notice your fans getting louder, temperatures increasing, or visible dust on the vents, it’s time to clean.
Tools You’ll Need
Before diving in, make sure you have the right tools to clean safely and effectively:
● Soft brush (anti-static preferred)
● Microfiber cloth
● Cotton swabs
● Screwdriver (for removing panels)
● Dust filters or replacement filters (if your case supports them)
Avoid using a household vacuum directly on your PC — the static electricity it can generate is risky for sensitive components.
Step-by-Step Guide to Cleaning Your PC
1. Power Down and Unplug
2. Remove the Side Panels
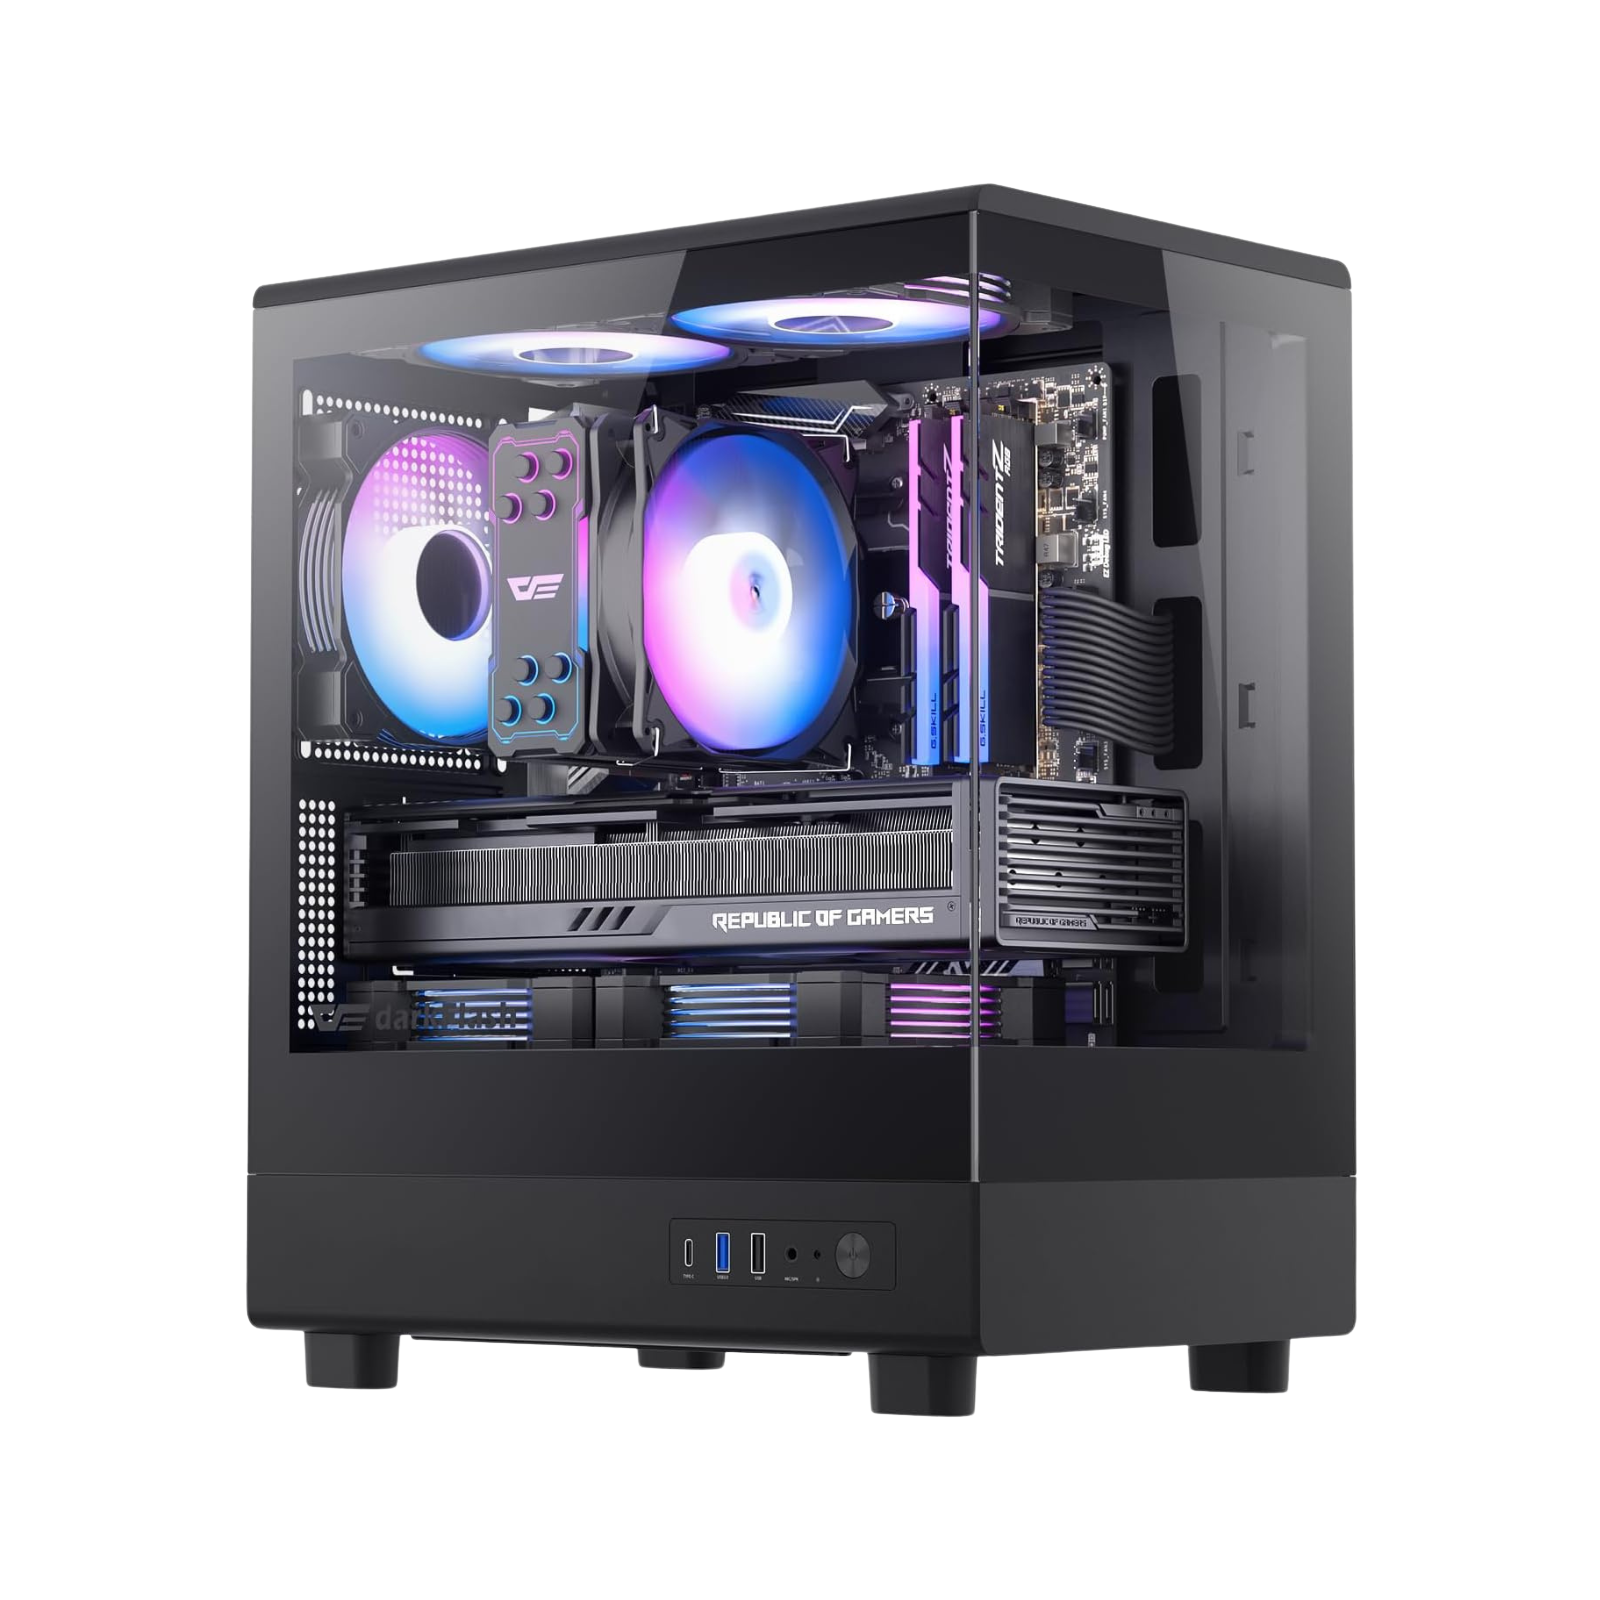
If you're using a darkFlash case, these come with thumbscrews or tool-less panels that make them easy to remove. Once opened, place the panels somewhere clean.
3. Use Compressed Air to Remove Loose Dust
Hold the can upright and blow short bursts of air to remove dust from:
CPU cooler and heatsink
GPU fans and backplate
Motherboard and PCIe slots
RAM modules and cables
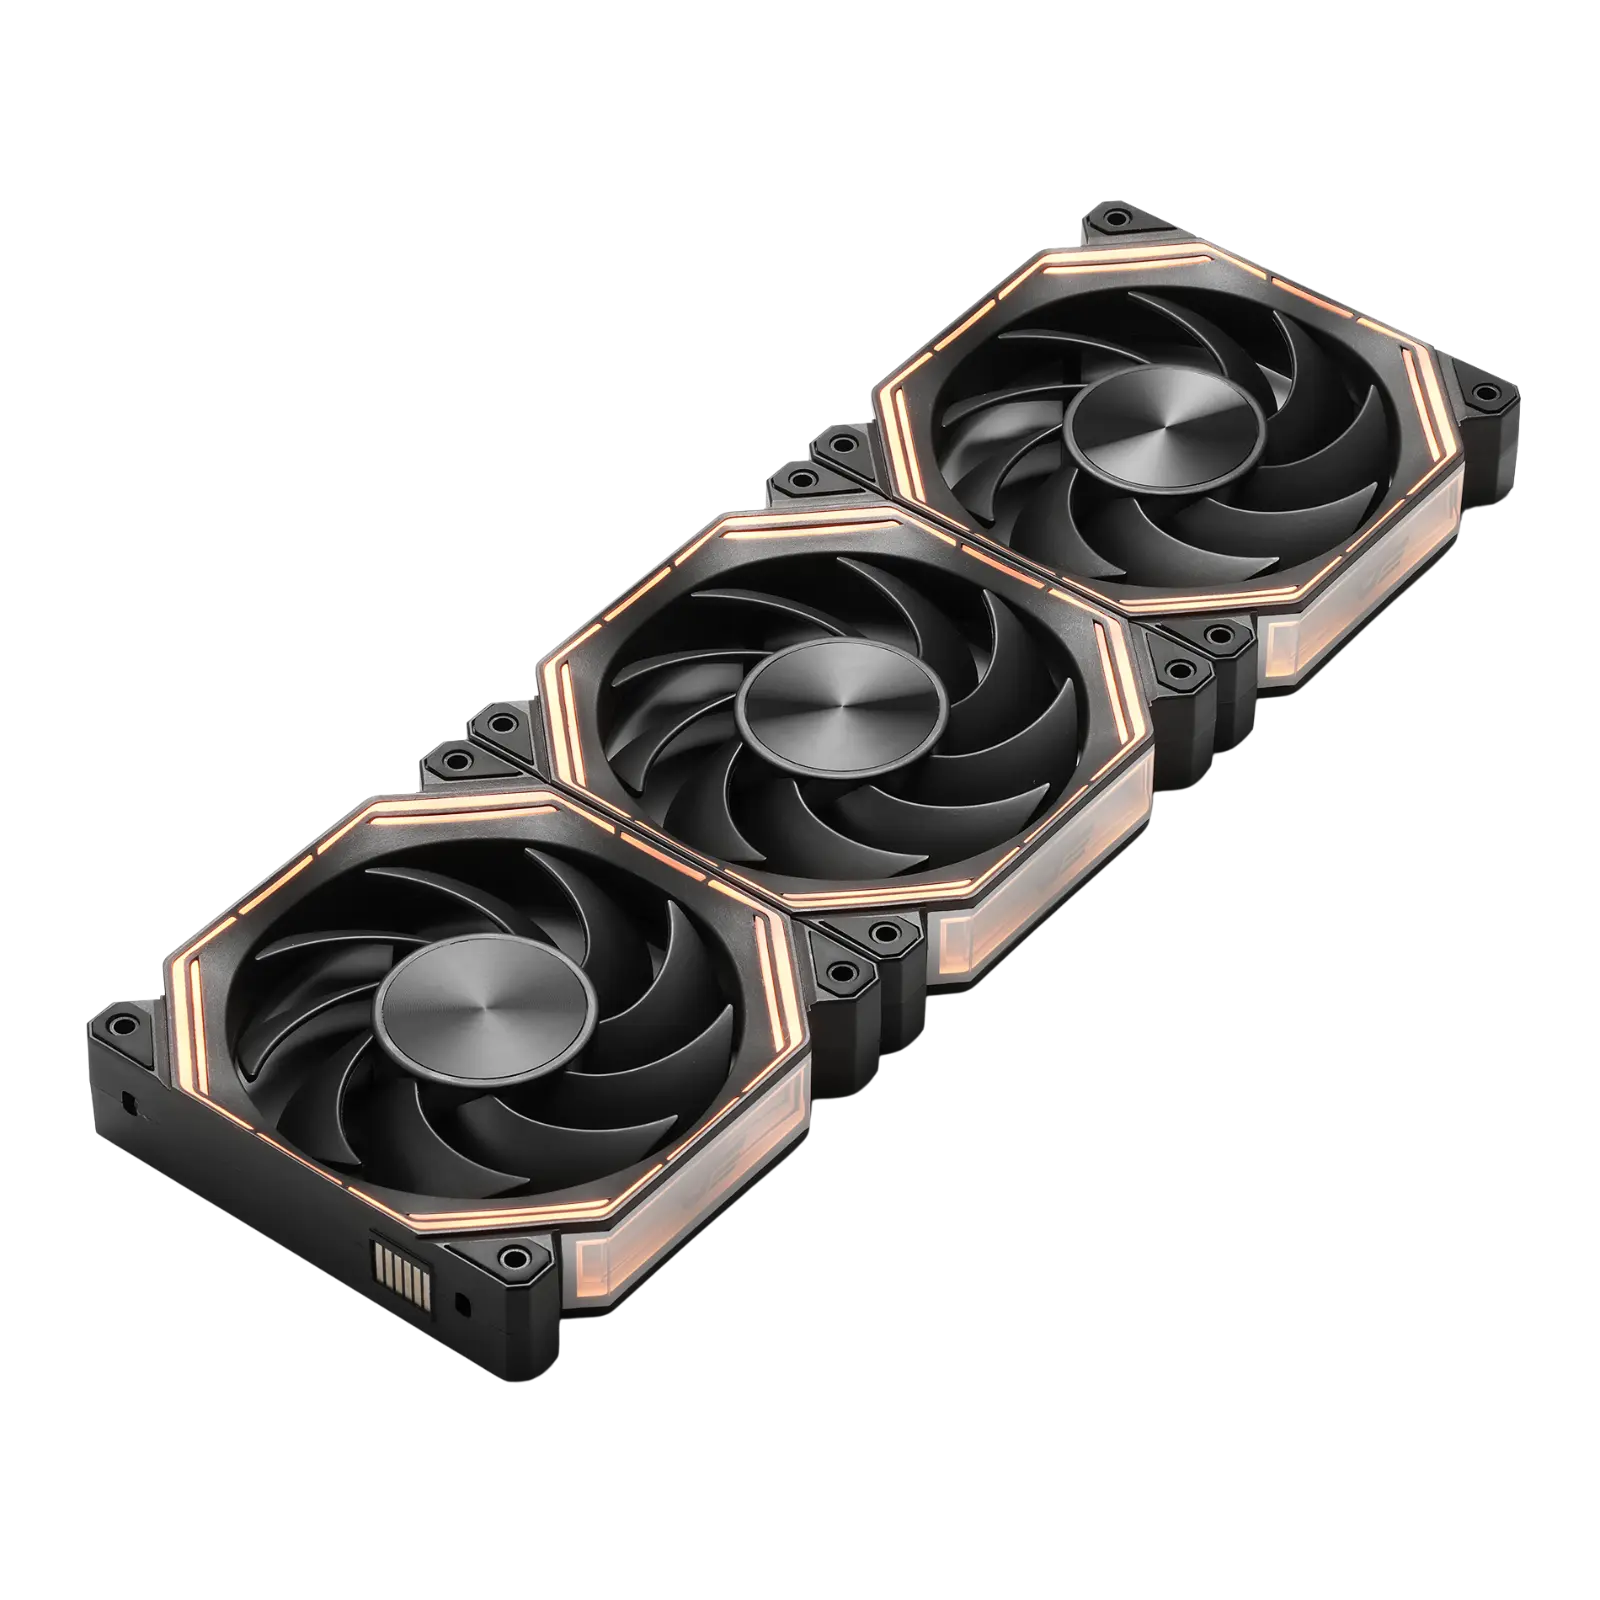
Tip: Hold fan blades in place while blowing air so they don’t spin uncontrollably — this prevents potential bearing damage.
4. Brush Away Stubborn Dust
For areas where dust is stuck (especially around heat sinks or corners), gently use an anti-static brush to loosen it. Follow up with compressed air to clear the loosened particles.
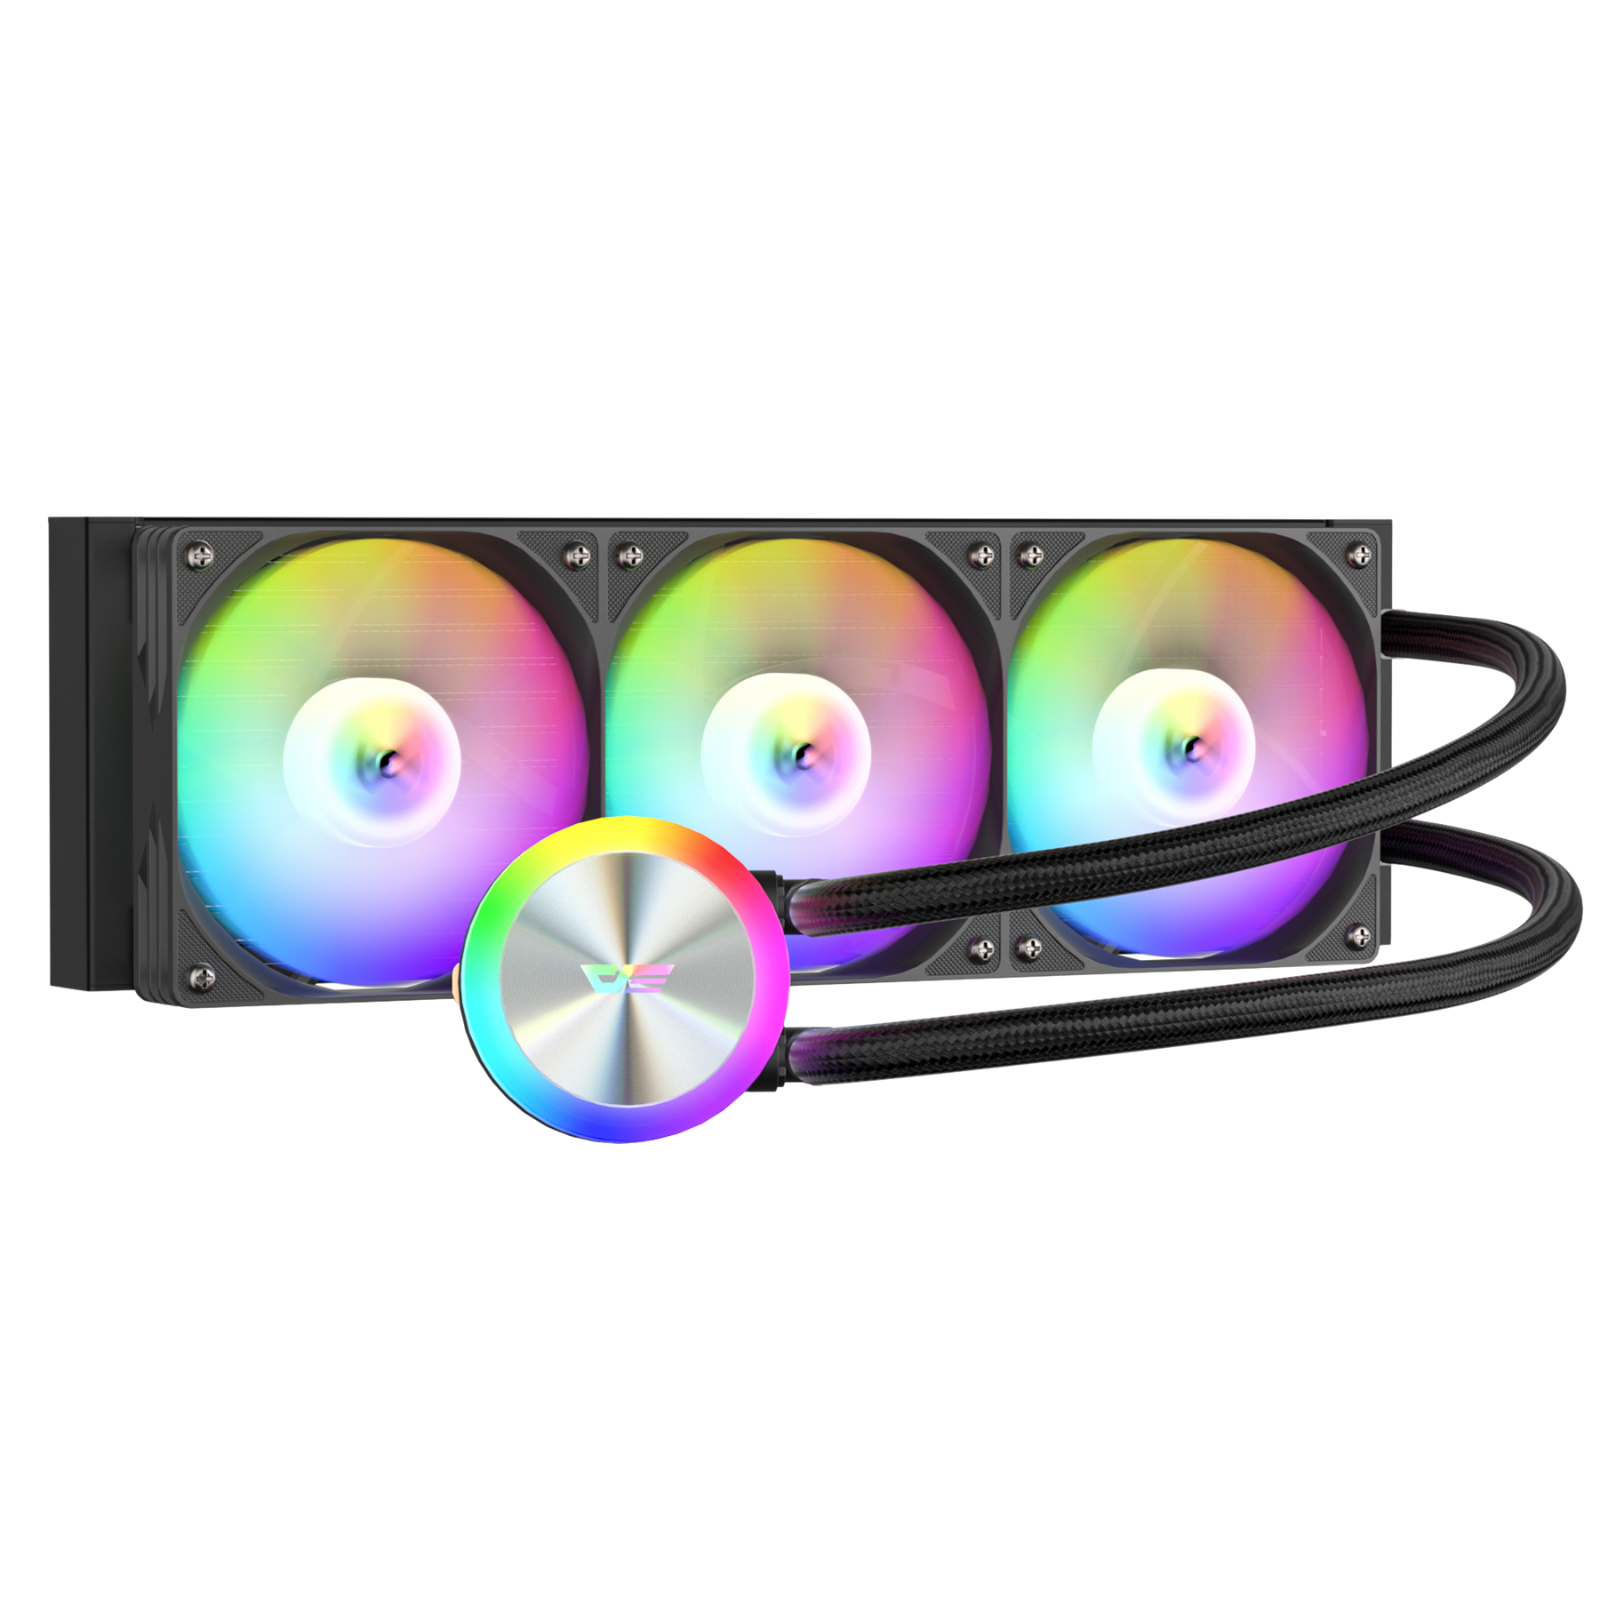
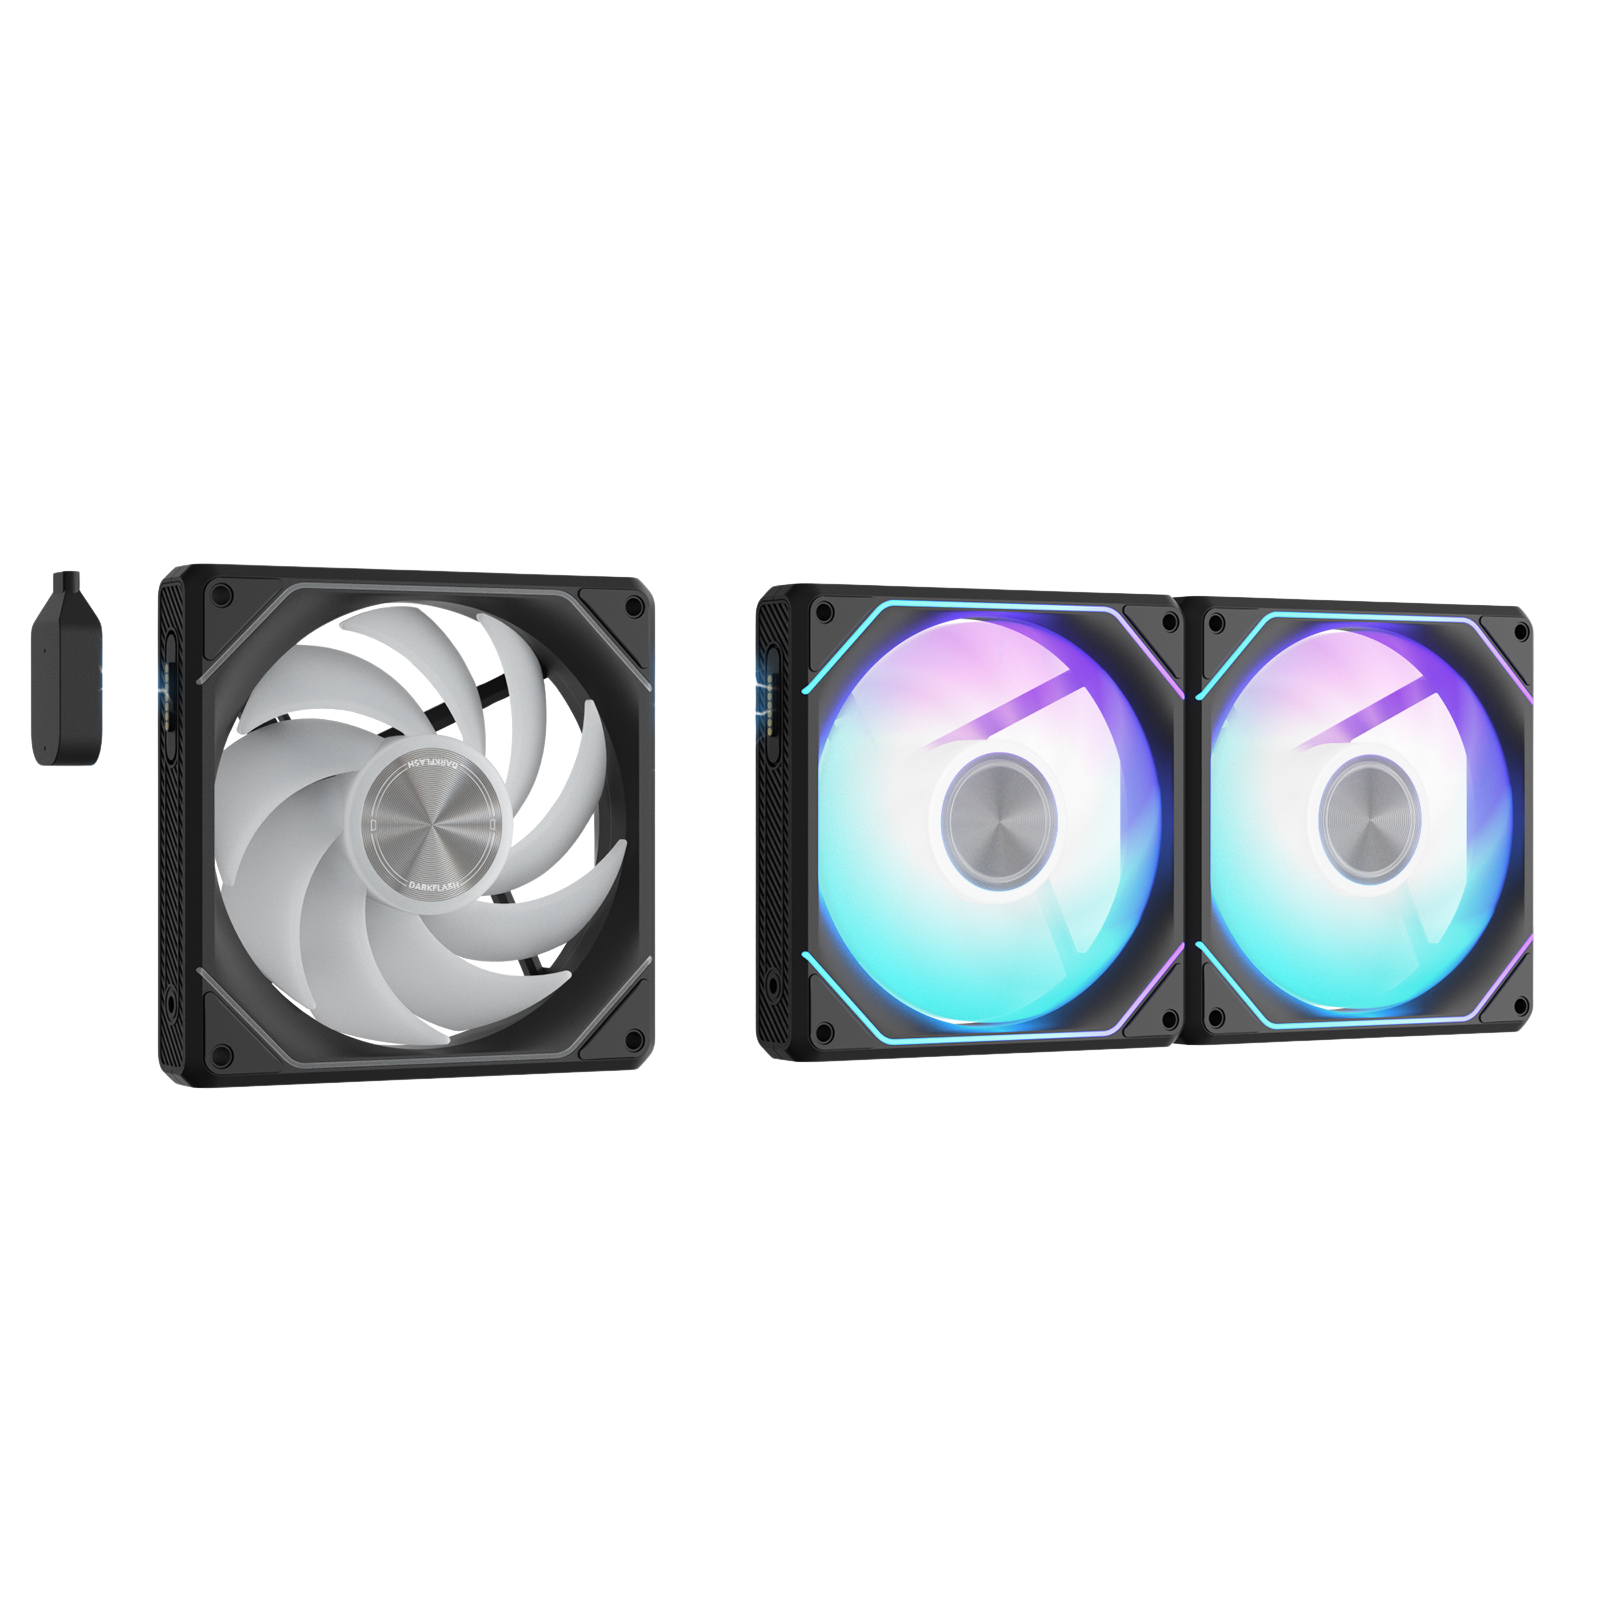
5. Clean the Case Fans and Filters
If you use a darkFlash case, it has removable magnetic dust filters, pop them out and rinse them with water. Dry them completely before reinstalling.
For fans, wipe the blades with a microfiber cloth dampened slightly with isopropyl alcohol — this removes grime without leaving residue.
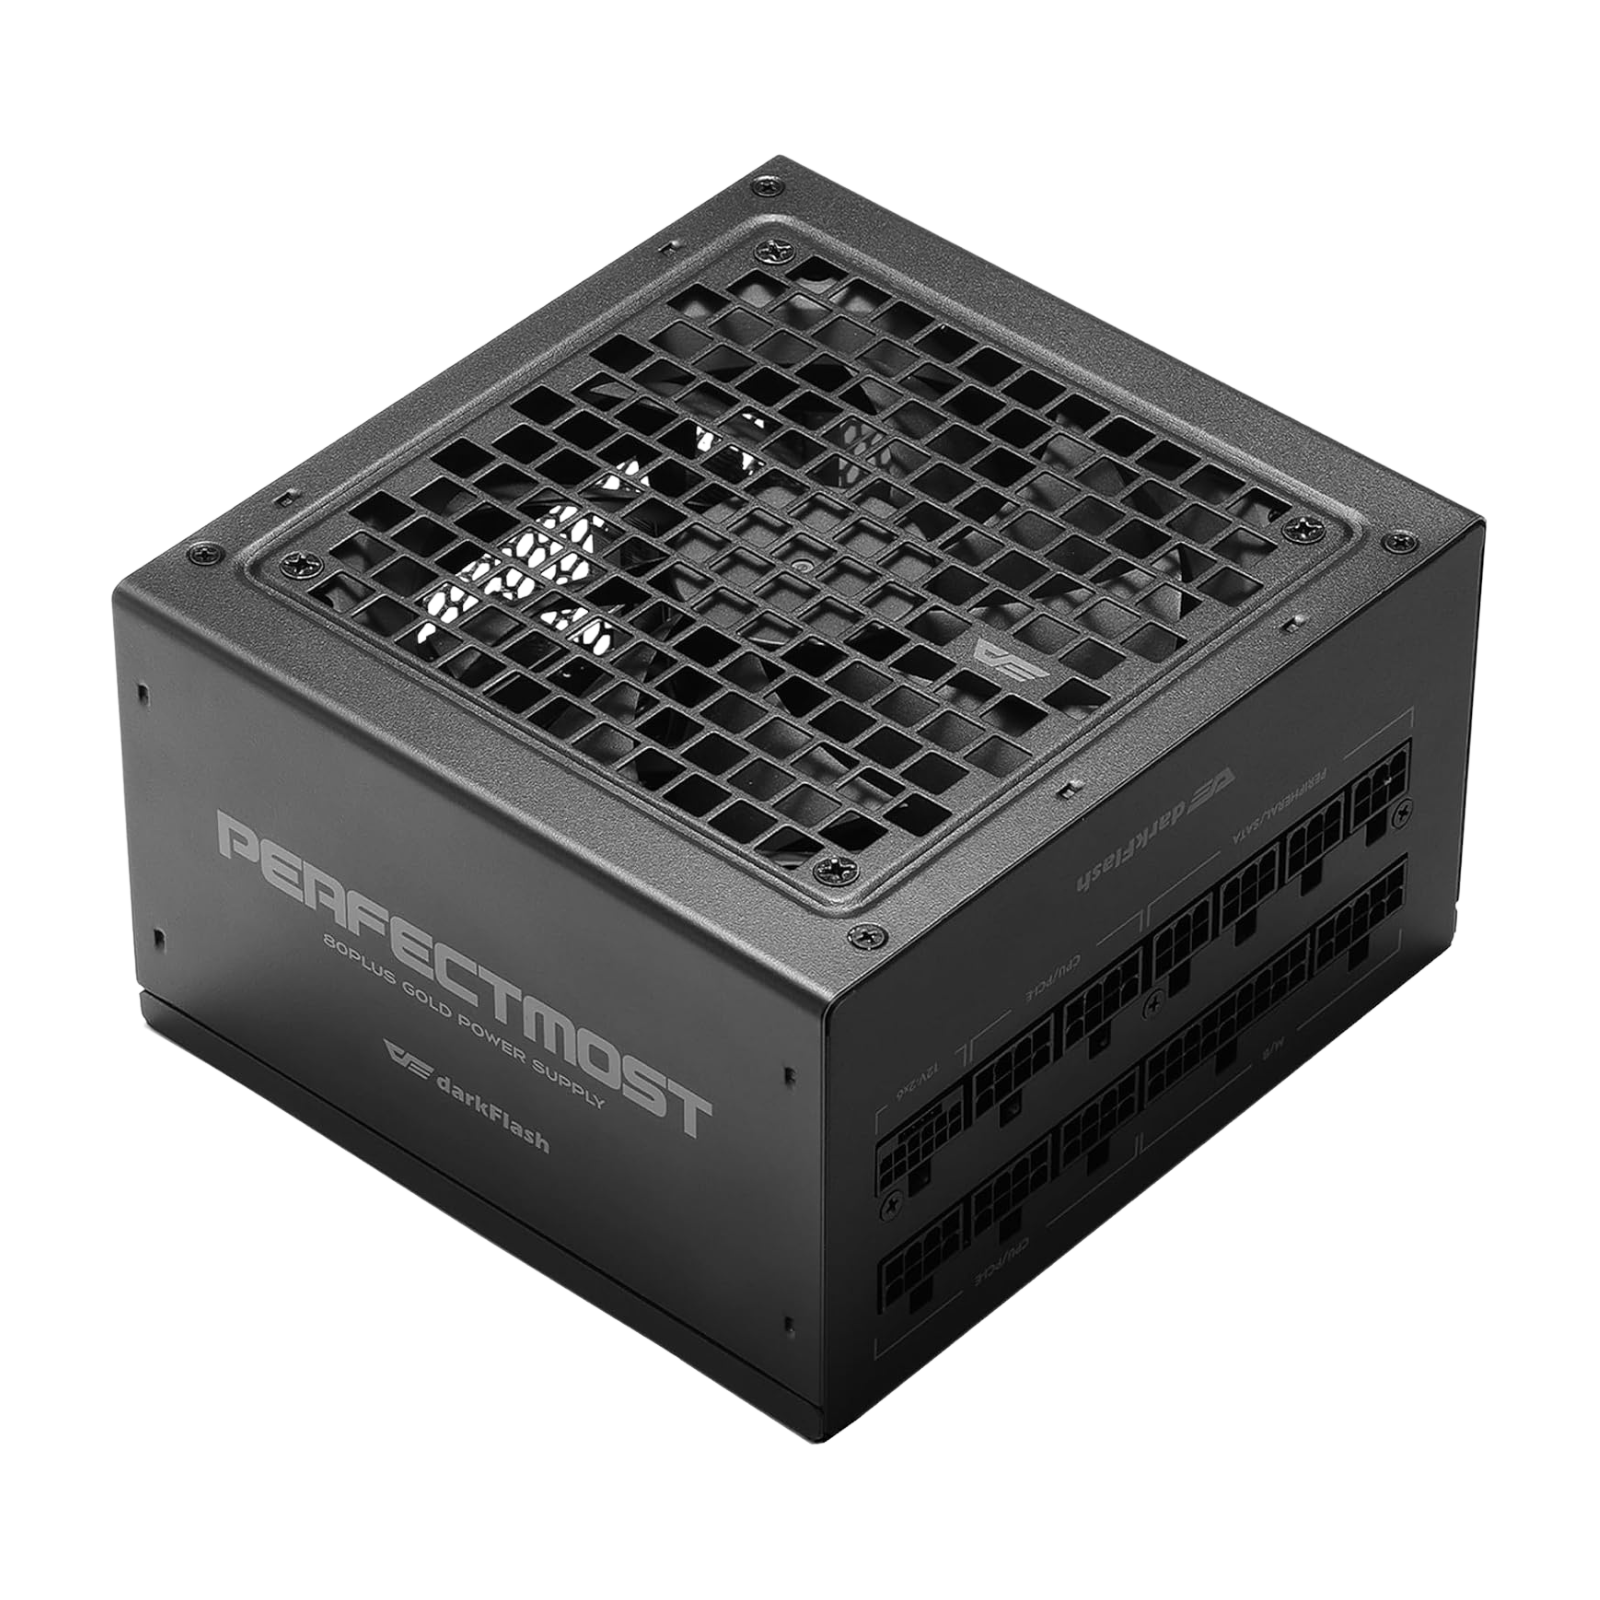
6. Don’t Forget the Power Supply (PSU)
If your PSU has a bottom intake fan, make sure the vent area is dust-free. Avoid opening the PSU itself (it contains capacitors that can hold a dangerous charge). Instead, blow air through the outer vents or use a soft brush.
Consider using a case with a PSU shroud — like many darkFlash models — which helps limit dust buildup in that area.
7. Wipe the Exterior
Once the inside is spotless, finish off with a quick wipe of the outer panels. Pay attention to mesh areas and I/O panels where dust tends to collect.
8. Reassemble and Power On
Reattach the side panels, plug everything back in, and power up your system.
You’ll immediately notice quieter operation and potentially even lower temperatures.
Preventing Dust Buildup: Pro Tips
Cleaning is great, but prevention is even better. Here’s how to reduce dust accumulation over time.
1. Use a Case with Built-In Dust Filters
Many modern PC cases — including darkFlash’s case — come with magnetic or fine-mesh filters on the top, front, and bottom. These block most airborne dust before it enters the system.
Regularly remove and rinse these filters to maintain optimal airflow.
2. Maintain Positive Air Pressure
Positive air pressure means you have more intake fans (bringing air in) than exhaust fans (pushing air out). This helps prevent unfiltered air — and dust — from being sucked through unsealed gaps.
3. Elevate Your PC
Avoid placing your PC directly on the floor, especially if you have carpet. Carpets trap dust and fibers that your bottom intake fans will eagerly inhale.
4. Control Your Environment
Keep your room clean and dust your workspace regularly.
If possible, use an air purifier — it helps reduce airborne particles that could end up inside your system.
5. Watch for Early Signs
A sudden rise in CPU/GPU temperature, louder fans, or visible dust on vents means it’s time for a quick clean. Don’t wait until your PC sounds like a jet engine.
Final Thoughts
A dust-free PC isn’t just cleaner — it’s faster, quieter, and more reliable.
Taking 20–30 minutes every few months to maintain your system can prevent overheating, extend component lifespan, and keep your build looking sharp.
And if you’re looking for a case that makes maintenance easy, choose one with removable dust filters, spacious interiors, and optimized airflow — like darkFlash’s cases designed with real builders in mind.
Keep your setup clean, your temps low, and your performance smooth — your PC (and your ears) will thank you.